Importing Subjects from Redcap
Tutorial on how to import subjects form Redcap
NiDB supports to import subjects from an existing Redcap database. This is especially a very helpful option when a large number of subjects required to be created in NiDB, and information on these subjects is available in Redcap. This option can be used for any existing NiDB project, or a newly created project as a part of new or extended study. This option can save a lot of time and effort making the process efficient and accurate.
Following are the steps to import subjects from a Redcap project.
Step 1
Subjects can be imported from redcap into a NiDB project. Click Redcap Subject Import from Data Transfer section on the main page of the project as shown below:

Step 2
Fill the following information for API connection to Redcap
Redcap Server: Name of the redcap server
Redcap Token: An API token provided by Redcap administrator.
Redcap Event: The name of the redcap event that stores the subject's information.
Step 3
Provide the following redcap field names.
Record ID (Required): Actual Redcap field name for Redcap record id.
Alternate ID (Optional): Name of the redcap field holding subject id other than record id, if any:
First Name (Required): Redcap field name containing the first name information. This is not the actual first name of a subject.
Last Name (Required): Field name containing the last name information in Redcap. This is not the actual last name of a subject.
Birthdate (Required): Redcap field name storing the date of birth information for the subjects.
Sex (Required): Redcap field name that stores the sex of the subjects. For this field, codes stored in Redcap representing the subject's sex should be provided here. The codes for male (M), and female(F) are required. Codes for Other (O) and undefined (U) can also be defined if used in the Redcap project. A suggestive coding scheme 1 for male (M), 2 for female (F), 3 for other (O) and 4 for undefined (U) is also displayed for help.

Step 4
After providing the required information regarding the Redcap fields click Subjects Information button.
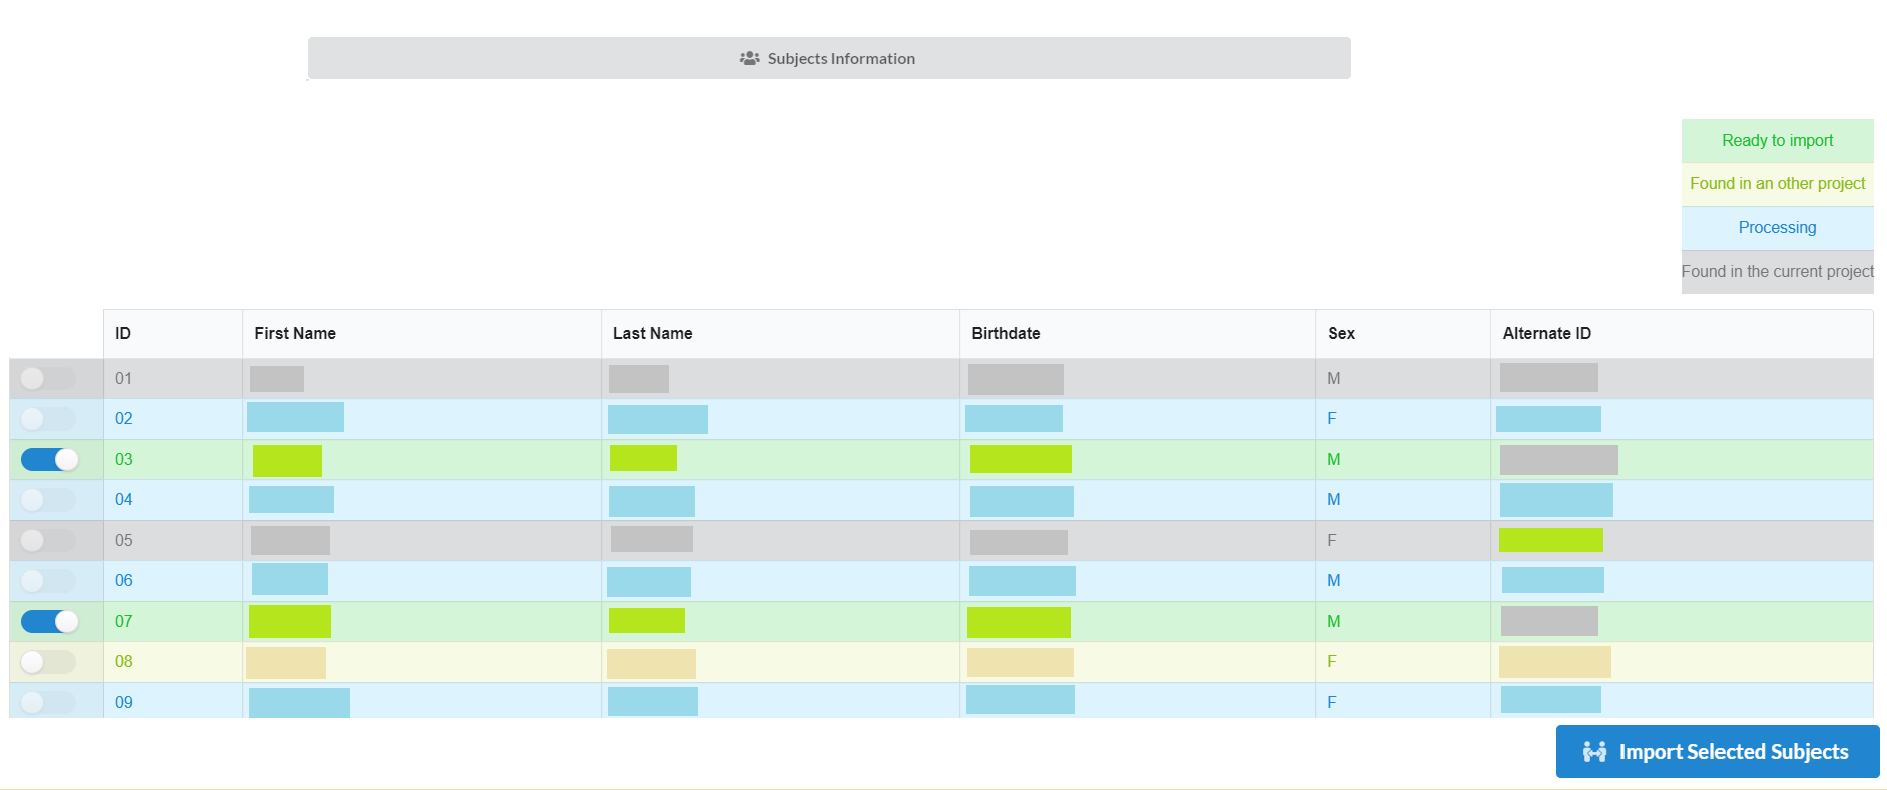
If all the above information is correct, then the list of the subjects from redcap will be shown as follows:

Step 5
There can be four types of subjects in the list. Those are:
Ready to Import: are the one those are in redcap and can be imported.
Found in an other project: these are present in another project under inthe NiDB database. They can also be imported, but need to be selected to get import.
Processing: these are already in the process of being imported and cannot be selected to import.
Already exist in the project: these already exist in the current project and cannot be duplicated.
After selecting the desired subjects to import, click Import Selected Subjects to start the import process.
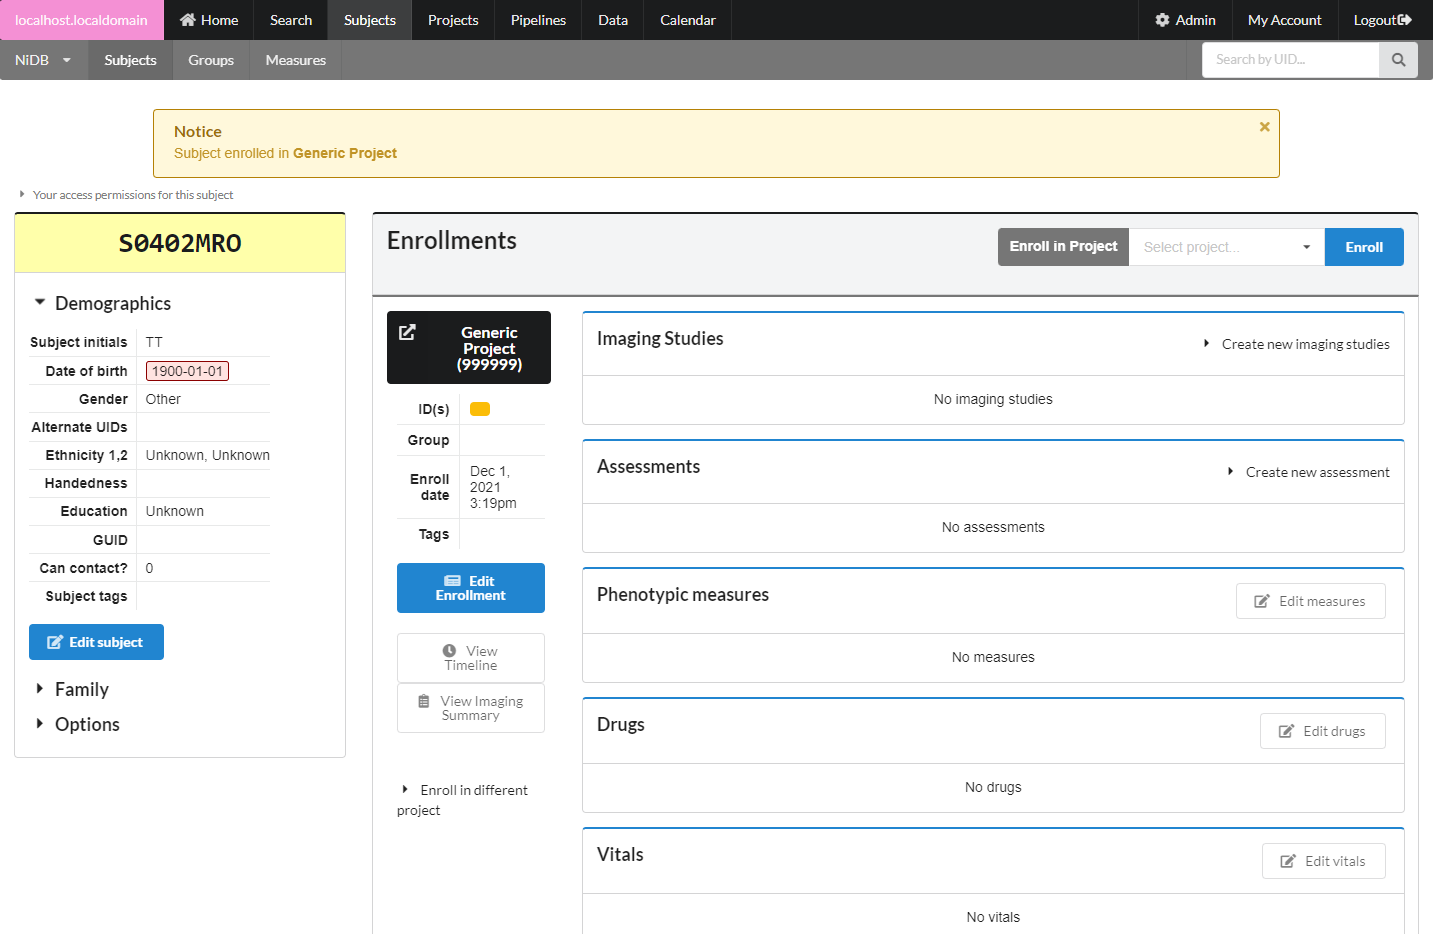
Enroll in Project
In the enrollments section, select the project you want to enroll in, and click Enroll. The subject will now be enrolled in the project. Permissions within NiDB are determined by the project, which is in theory associated with an IRB approved protocol. If a subject is not enrolled in a project, the default is to have no permissions to view or edit the subject. Now that the subject is part of a project, you will have permissions to edit the subject's details. Once enrolled, you can edit the enrollment details and create studies.

Last updated
Was this helpful?
