Front end (user facing)
Front end settings are what the users see. Projects, users, etc.
Users
Accessing the users page
Access the user administration page from the Admin page. Admin page is only accessible if you are logged in as an administrator

Creating Users
NIS Users
NiDB will check by default if an NIS account already exists when a user logs in for the first time. If the user exists in NIS, an account will created within NiDB. NIS must be enabled and able to authenticate to the NIS through the NiDB server.
Regular Users
To create a regular user, go to Admin → Users. Click the Add User button. Enter their information, including password and email address. The username can be any field, such as an alphanumeric string, or an email address. If the user is given NiDB admin permissions, then they will be able to add/edit users.
Account Self-registration
On public servers, or systems where users are allowed to register themselves, they can create an account and verify their email address to fully register the account. The account will then exist, but they will have no permissions to any projects within NiDB. After a user registers, they will appear on the Admin → Users → All Other Users tab. Click the username to edit their project permissions. Note: be careful allowing users to self-register, for obvious reasons.
Managing Users
There are 3 options of where to find users A) users in the current instance (switch instance by clicking the instance list in the upper left menu) B) users not in the current instance C) deleted users

To manage project permissions for users, go to Admin → Users and click on the username you want to manage. The page can change the name, password, email, admin status, if the account is enabled/disabled, and the projects to which the user has permissions. After changing any information on the page, click the Save button at the bottom of the page. See list of user options and settings below.
Enabled
If checked, then the user can login, otherwise they cannot login
NiDB Admin
If checked, this user can add/manage users, and various other Admin tasks within NiDB
Project admin
The user has permissions to add subjects to the project
Data/PHI/PII modify/view
Honestly, just check them all off
Instances
To give permissions to a project, the instance that the project is part of must be checked
Projects
Data collected in the system must be associated with a subject, and that subject must be enrolled in a project. There is a default project in NiDB called Generic Project, but its preferable to create projects parallel to IRB approved studies.
Projects are listed after clicking on the Admin → Projects menu. Clicking the project allows editing of the project options. Clicking the Create Project button will show the new project form. Fill out the form, or edit the form, using the following descriptions of the options
Name
Project name, displayed in many places on NiDB
Project number
Unique number which represents a project number. May be referred to as a 'cost center'
Use Custom IDs
Certain pages on NiDB will display the primary alternate ID instead of the UID (S1234ABC) if this option is checked
Instance
Project will be part of this instance
Principle Investigator
The PI of the project
Administrator
The admin in charge of the project
Start/End Dates
Possibly corresponding to the IRB starting and ending dates of the project
Reports
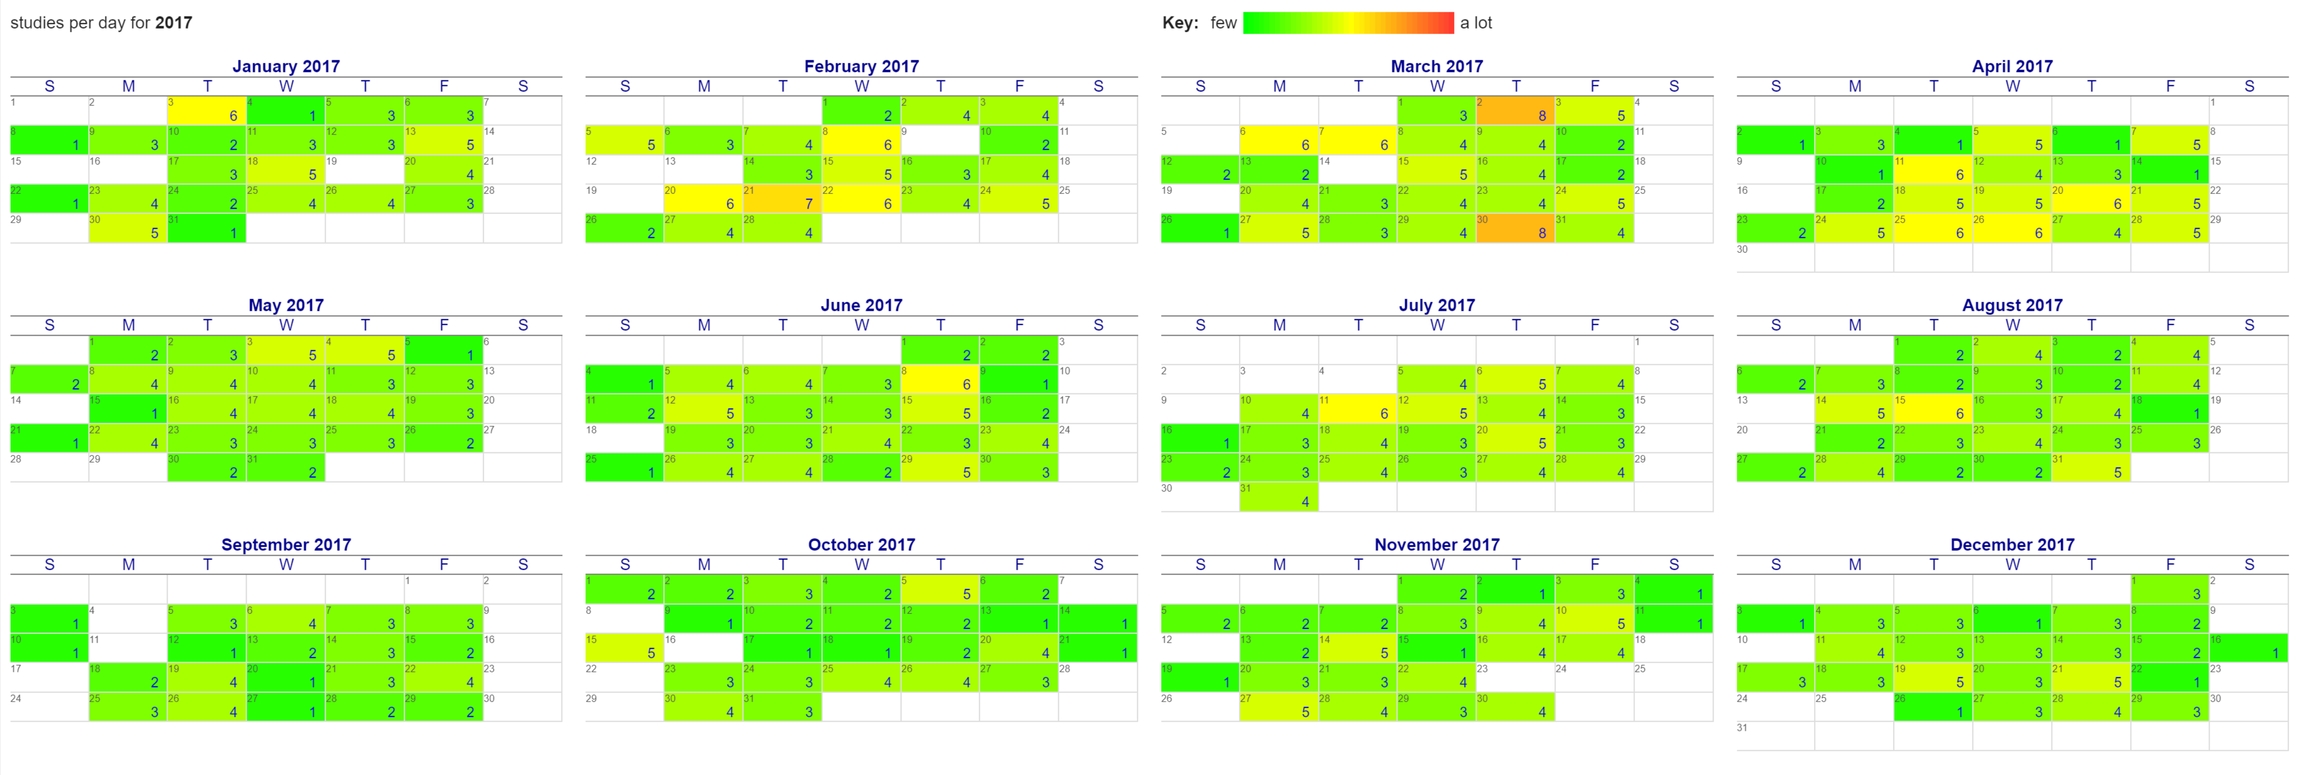
Reports of imaging studies (often used for billing/accounting purposes on MRI equipment for example) are organized by modality or equipment. Clicking any of the 'year' links will display a calendar for that year with the number of studies per day matching the specified criteria. Clicking the month name will show a report for that month and modality/equipment. Clicking the day will show a report of studies collected on that day.

Last updated
Was this helpful?
